What is an API and Why Should Treasurers Care?
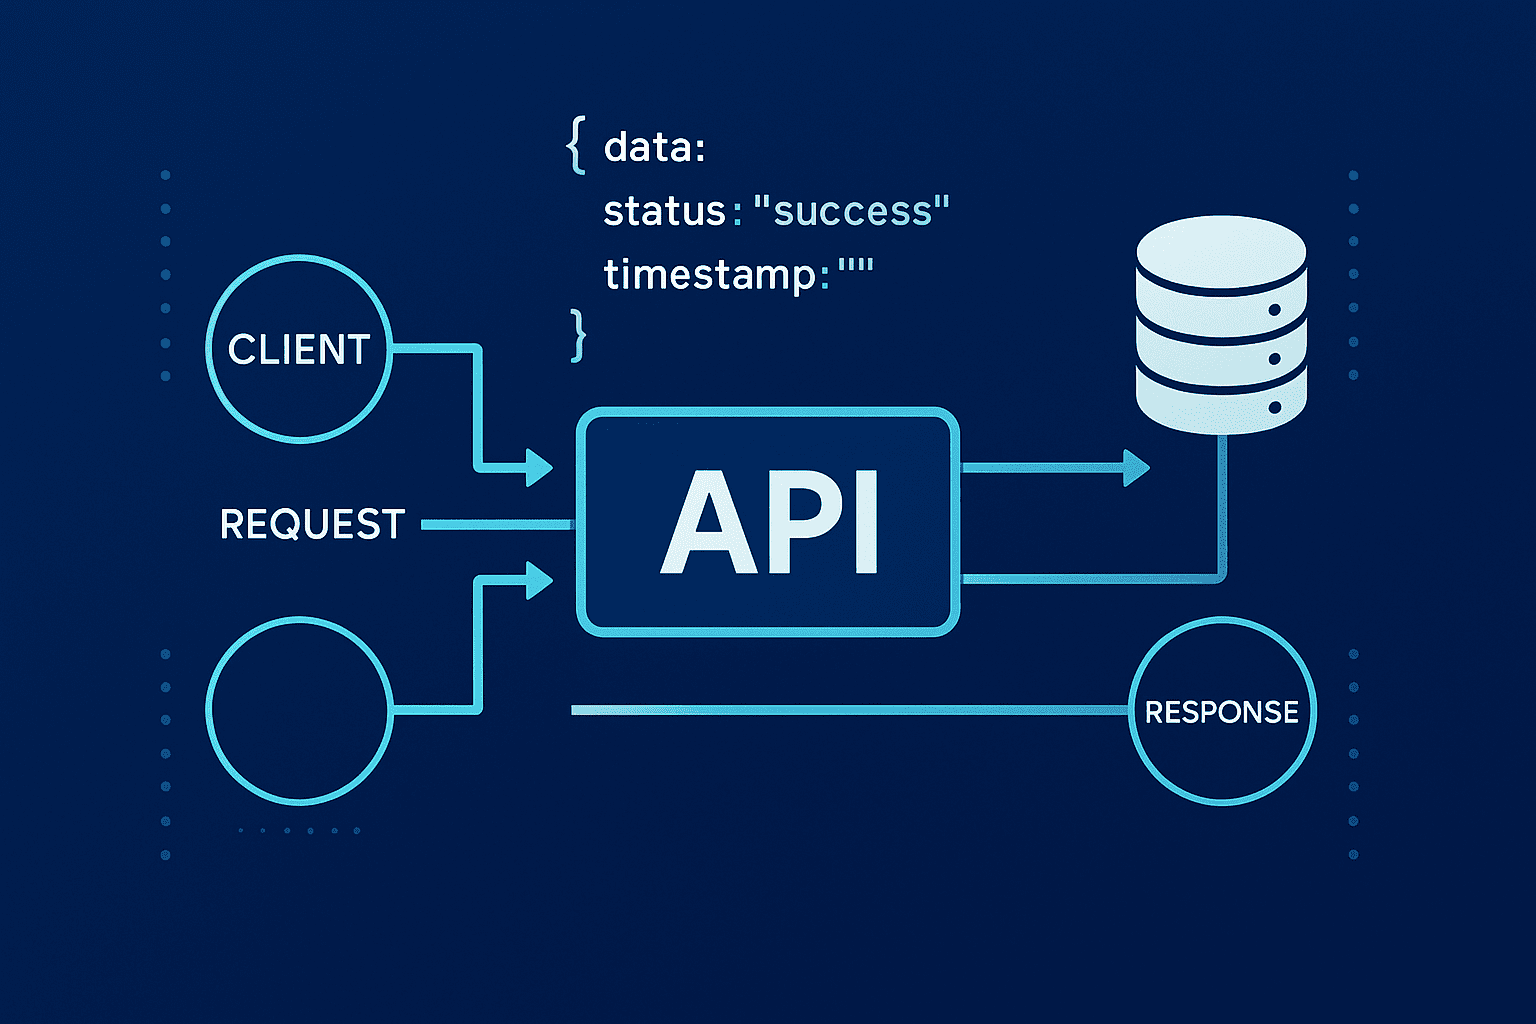
An API (Application Programming Interface) is essentially a digital messenger that allows two software systems to talk to each other automatically. Think of it as a waiter in a restaurant:
- You (Treasury System) place an order
- The waiter (API) takes your order to the kitchen
- The kitchen (Bank/Financial Service) prepares your request
- The waiter (API) brings back exactly what you asked for
Real Treasury Examples:
- Bank Balance Retrieval: Your treasury system automatically gets account balances from your bank every morning
- Payment Initiation: You approve a payment in your TMS, and it’s automatically sent to the bank for processing
- FX Rate Updates: Live exchange rates flow directly into your risk management system
- Cash Position Reporting: Daily cash positions from multiple banks consolidated automatically
Understanding an API Call: The Complete Breakdown
1. Endpoint – Your Digital Address
An endpoint is the specific web address where you send your request. It’s like a postal address for data.
Treasury Example:
https://api.bankname.com/v1/accounts/balances
Breaking it down:
https://api.bankname.com= The bank’s API server/v1/= Version 1 of their API/accounts/balances= The specific service (get account balances)
Common Treasury Endpoints:
/accounts– Account information/transactions– Transaction history/payments– Payment services/fx-rates– Foreign exchange rates/positions– Cash positions
2. Bearer Token – Your Digital ID Card
A Bearer Token is your security pass that proves you’re authorized to access the API. It’s like showing your ID card at a secure building.
What it looks like:
Bearer eyJhbGciOiJIUzI1NiIsInR5cCI6IkpXVCJ9...
How to get it:
- Register with your bank/service provider
- Receive client credentials (username/password for APIs)
- Exchange credentials for a token
- Use this token in all your API requests
Important: Tokens expire (usually 1-24 hours) and need renewal.
3. Request Types – What You’re Asking For
GET – Retrieve information (like checking your balance)
GET /accounts/balances
"Please show me my account balances"
POST – Send new information (like initiating a payment)
POST /payments
"Please process this payment"
PUT – Update existing information
PUT /payments/12345
"Please modify payment #12345"
4. Response JSON – The Answer You Get Back
JSON (JavaScript Object Notation) is how APIs send information back to you. It’s structured like a filing cabinet with labeled folders.
Example Bank Balance Response:
{
  "status": "success",
  "timestamp": "2025-05-22T10:30:00Z",
  "accounts": [
    {
      "account_number": "1234567890",
      "account_name": "Operating Account USD",
      "currency": "USD",
      "available_balance": 2500000.00,
      "ledger_balance": 2750000.00
    },
    {
      "account_number": "0987654321",
      "account_name": "Operating Account EUR",
      "currency": "EUR",
      "available_balance": 1800000.00,
      "ledger_balance": 1900000.00
    }
  ]
}
Reading the Response:
status: "success"– The request workedtimestamp– When this data was generatedaccounts– Array containing multiple account details- Each account shows: number, name, currency, and balances
Step-by-Step: Your First API Implementation
Phase 1: Planning
Step 1: Identify Your Use Case
- What manual process takes the most time?
- Which data do you need most frequently?
- Where are errors most common?
Common starting points:
- Daily cash positioning
- Bank balance retrieval
- Payment status checking
Step 2: Choose Your Tools Most treasurers use no-code/low-code platforms:
- Postman – For testing APIs
- Zapier – For simple automations
- Microsoft Power Automate – If you use Office 365
- Treasury Management System – Many have built-in API capabilities
Phase 2: Setup
Step 3: Get API Access
- Contact your bank’s treasury services team
- Request API documentation and credentials
- Complete any required security paperwork
- Receive your credentials:
- Client ID
- Client Secret
- API Documentation
Step 4: Install Your Tool
- Download Postman (free version works fine)
- Create an account
- Import your bank’s API documentation if available
Phase 3: First Test
Step 5: Authenticate
- Open Postman
- Create a new request
- Set method to POST
- Enter authentication endpoint
- Add your credentials in the body
- Send request to get your Bearer Token
Step 6: Make Your First Data Request
- Create new request
- Set method to GET
- Enter the endpoint (e.g.,
/accounts/balances) - Add your Bearer Token in the Authorization header
- Send the request
- Review the JSON response
Step 7: Understand the Response
- Copy the JSON response to a JSON formatter online
- Identify the data fields you need
- Note the data structure for your next steps
Phase 4: Automation
Step 8: Create Your Automation Using Zapier example:
- Create new “Zap”
- Set trigger: “Schedule” (daily at 8 AM)
- Add action: “Webhooks by Zapier”
- Configure the API call using your tested parameters
- Add action: “Email” or “Google Sheets”
- Format the data for your daily report
Step 9: Test and Refine
- Run the automation manually first
- Check data accuracy against manual sources
- Adjust formatting as needed
- Set up error notifications
Treasury API Cheat Sheet
Essential API Components
| Component | Purpose | Treasury Example |
|---|---|---|
| Endpoint | Where to send request | api.bank.com/v1/accounts |
| Method | Type of request | GET (retrieve), POST (create) |
| Headers | Authentication & format | Authorization: Bearer [token] |
| Body | Data you’re sending | Payment details for POST requests |
| Response | Data returned | Account balances in JSON format |
Common HTTP Status Codes
| Code | Meaning | Action Required |
|---|---|---|
| 200 | Success | Data received, proceed normally |
| 401 | Unauthorized | Check/refresh your Bearer Token |
| 403 | Forbidden | Contact bank – permissions issue |
| 404 | Not Found | Check endpoint URL |
| 429 | Rate Limited | Wait and retry (you’re calling too frequently) |
| 500 | Server Error | Bank system issue – contact support |
Treasury-Specific Endpoints Guide
| Function | Typical Endpoint | Method | Use Case |
|---|---|---|---|
| Account Balances | /accounts/balances | GET | Daily cash positioning |
| Transaction History | /accounts/{id}/transactions | GET | Reconciliation |
| Initiate Payment | /payments | POST | Payment processing |
| Payment Status | /payments/{id} | GET | Payment tracking |
| FX Rates | /fx-rates | GET | Currency conversion |
| Account Details | /accounts/{id} | GET | Account information |
Authentication Quick Reference
Headers Required:
Authorization: Bearer [your-token-here]
Content-Type: application/json
Accept: application/json
JSON Response Structure
{
  "status": "success/error",
  "message": "Human readable message",
  "data": {
    // Your actual data here
  },
  "timestamp": "2025-05-22T10:30:00Z",
  "errors": [] // If any errors occurred
}
Error Handling Checklist
- [ ] Check token expiration (refresh if needed)
- [ ] Verify endpoint URL spelling
- [ ] Confirm request method (GET/POST)
- [ ] Validate JSON format in POST requests
- [ ] Check rate limiting (max requests per minute)
- [ ] Review required vs optional fields
Security Best Practices
- Never share Bearer Tokens – treat like passwords
- Use HTTPS only – never HTTP
- Set token expiration reminders – automate renewal
- Log API calls – for audit trails
- Implement error notifications – know when things break
- Test in sandbox first – most banks provide test environments
Getting Started Toolkit
- Postman (free) – API testing
- JSON Formatter (online) – making responses readable
- Zapier ($20/month) – simple automations
- Bank API documentation – your specific endpoints
- Treasury team contact – for questions and support
Common Beginner Mistakes
- Using expired tokens
- Wrong endpoint URLs
- Missing required headers
- Incorrect JSON formatting
- Not handling errors properly
- Calling APIs too frequently (rate limiting)
Next Steps
- Start Small – Pick one manual process
- Use Sandbox – Test everything before production
- Document Everything – Keep records of what works
- Build Gradually – Add complexity over time
- Train Your Team – Share knowledge
- Monitor Performance – Set up alerts for failures
Remember: APIs aren’t magic – they’re tools. Like Excel, they become powerful when you understand the basics and practice regularly.
Practical Implementation Example
For treasurers looking to see a real-world API implementation in action, you can find a practical Power Automate flow here, which demonstrates how to retrieve account balances from Kyriba TMS and automatically populate an Excel Online file.
This working example shows the concepts from this guide applied to an actual treasury management system, providing a template you can adapt for your own use.
Please note that I am not promoting nor selling Kyriba products; rather, I found valuable information and guidance on their website that helped me build and publish this comprehensive article for the treasury community.
You can find more information here: Kyriba’s developer site.
Also, you can find the the cheat sheet for API here: Treasury API Cheat Sheet | Treasury Ease
Enjoy!
Treasury tech insights. No fluff.
One email per week. Build logs, tools, and opinions from the trenches.
Subscribe →